Robin's Nest Products Used
Smokey Chevron Cardstock (reverse side)
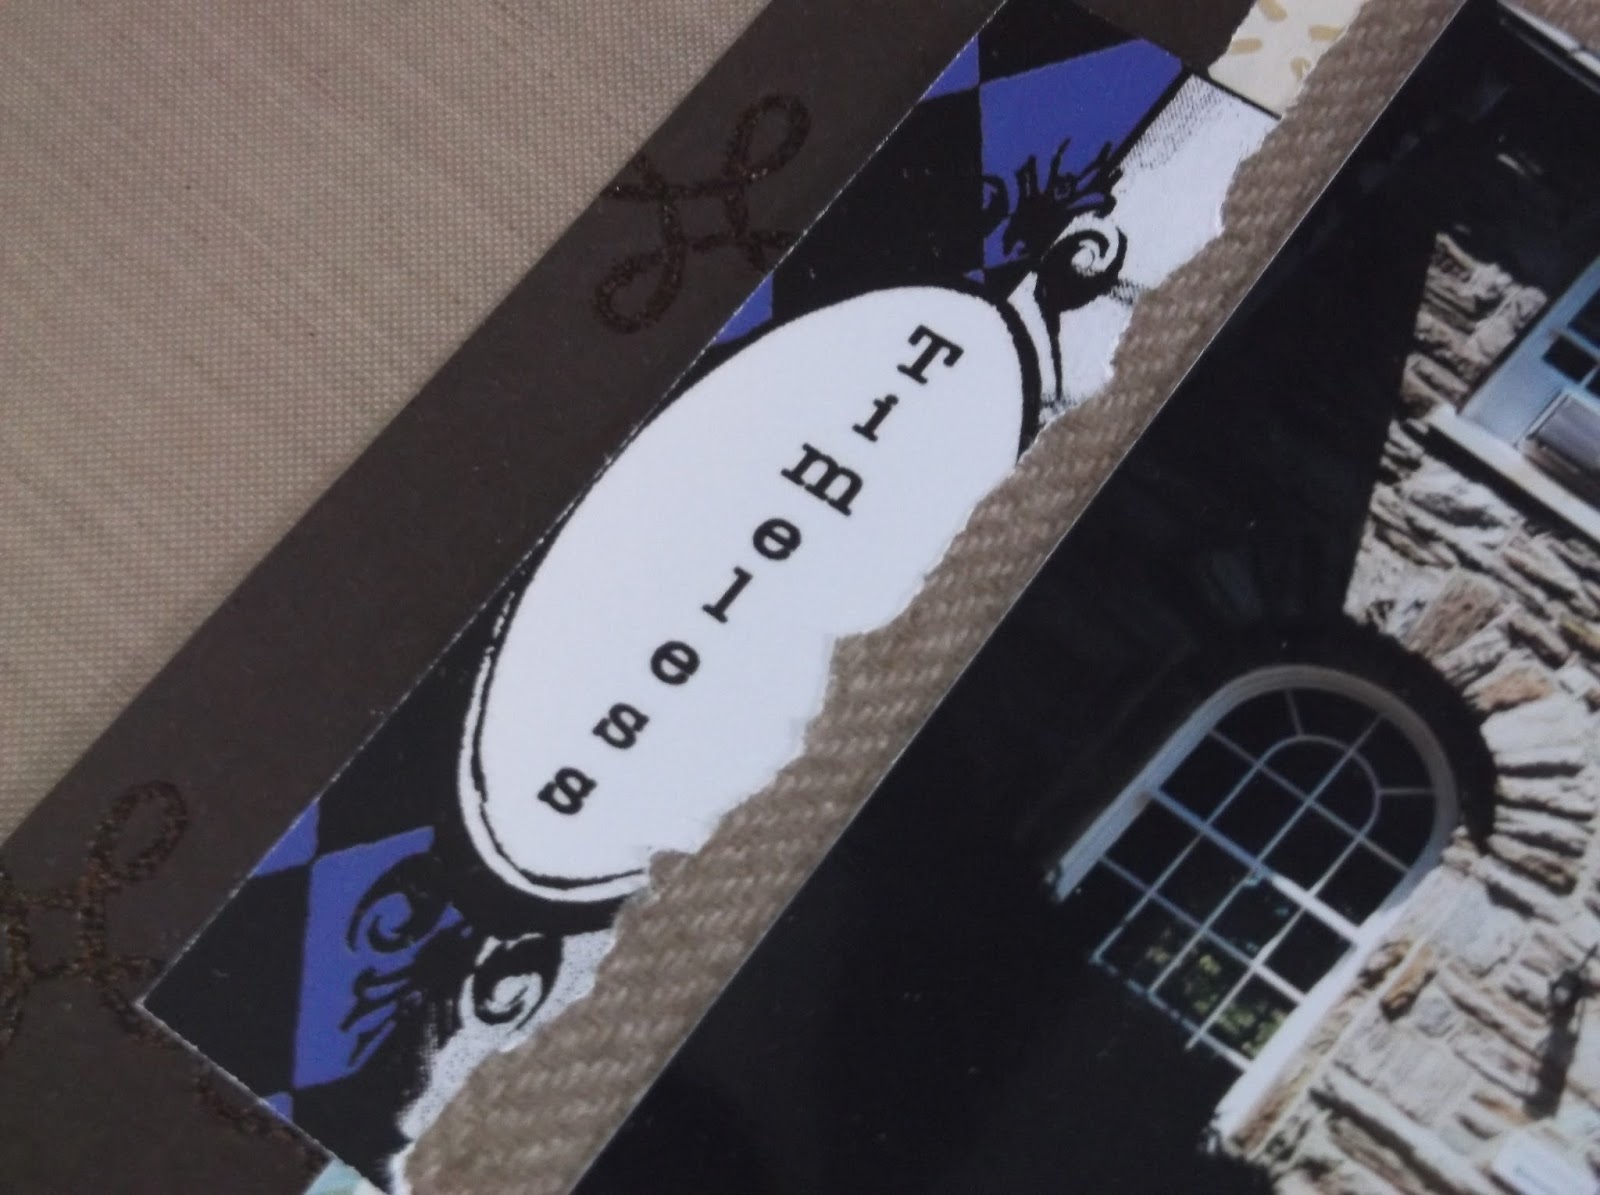
Rosy Diamond Cardstock (reverse side)
Bunny Stripe Cardstock (reverse side)
I started by layering some Rosy Diamond Cardstock (reverse side), Bunny Stripe Cardstock (reverse side) and Pink Glittered Leopard Cardstock on top of each other. I then added the photo on top.

For the background paper I took the Spring Flowers Glitter Cardstock and cut it and placed a piece on the top and bottom of the Smokey Chevron Cardstock (reverse side). I then fussy cut a section of the Pink Glitter Journal and tucked it under some of the layering behind the photo. I also used a Robin's Nest Clippie as a journaling block.

And added the Rosy Bike Chipboard to the other side of the photo along with another Robin's Nest Clippie.

This will be my last project for the Robin's Nest Design Team. I've thoroughly enjoyed my time on the team working with a wonderful bunch of talented ladies.

Thanks for stopping by!