Showing posts with label Winter layout. Show all posts

Wednesday, February 15, 2023

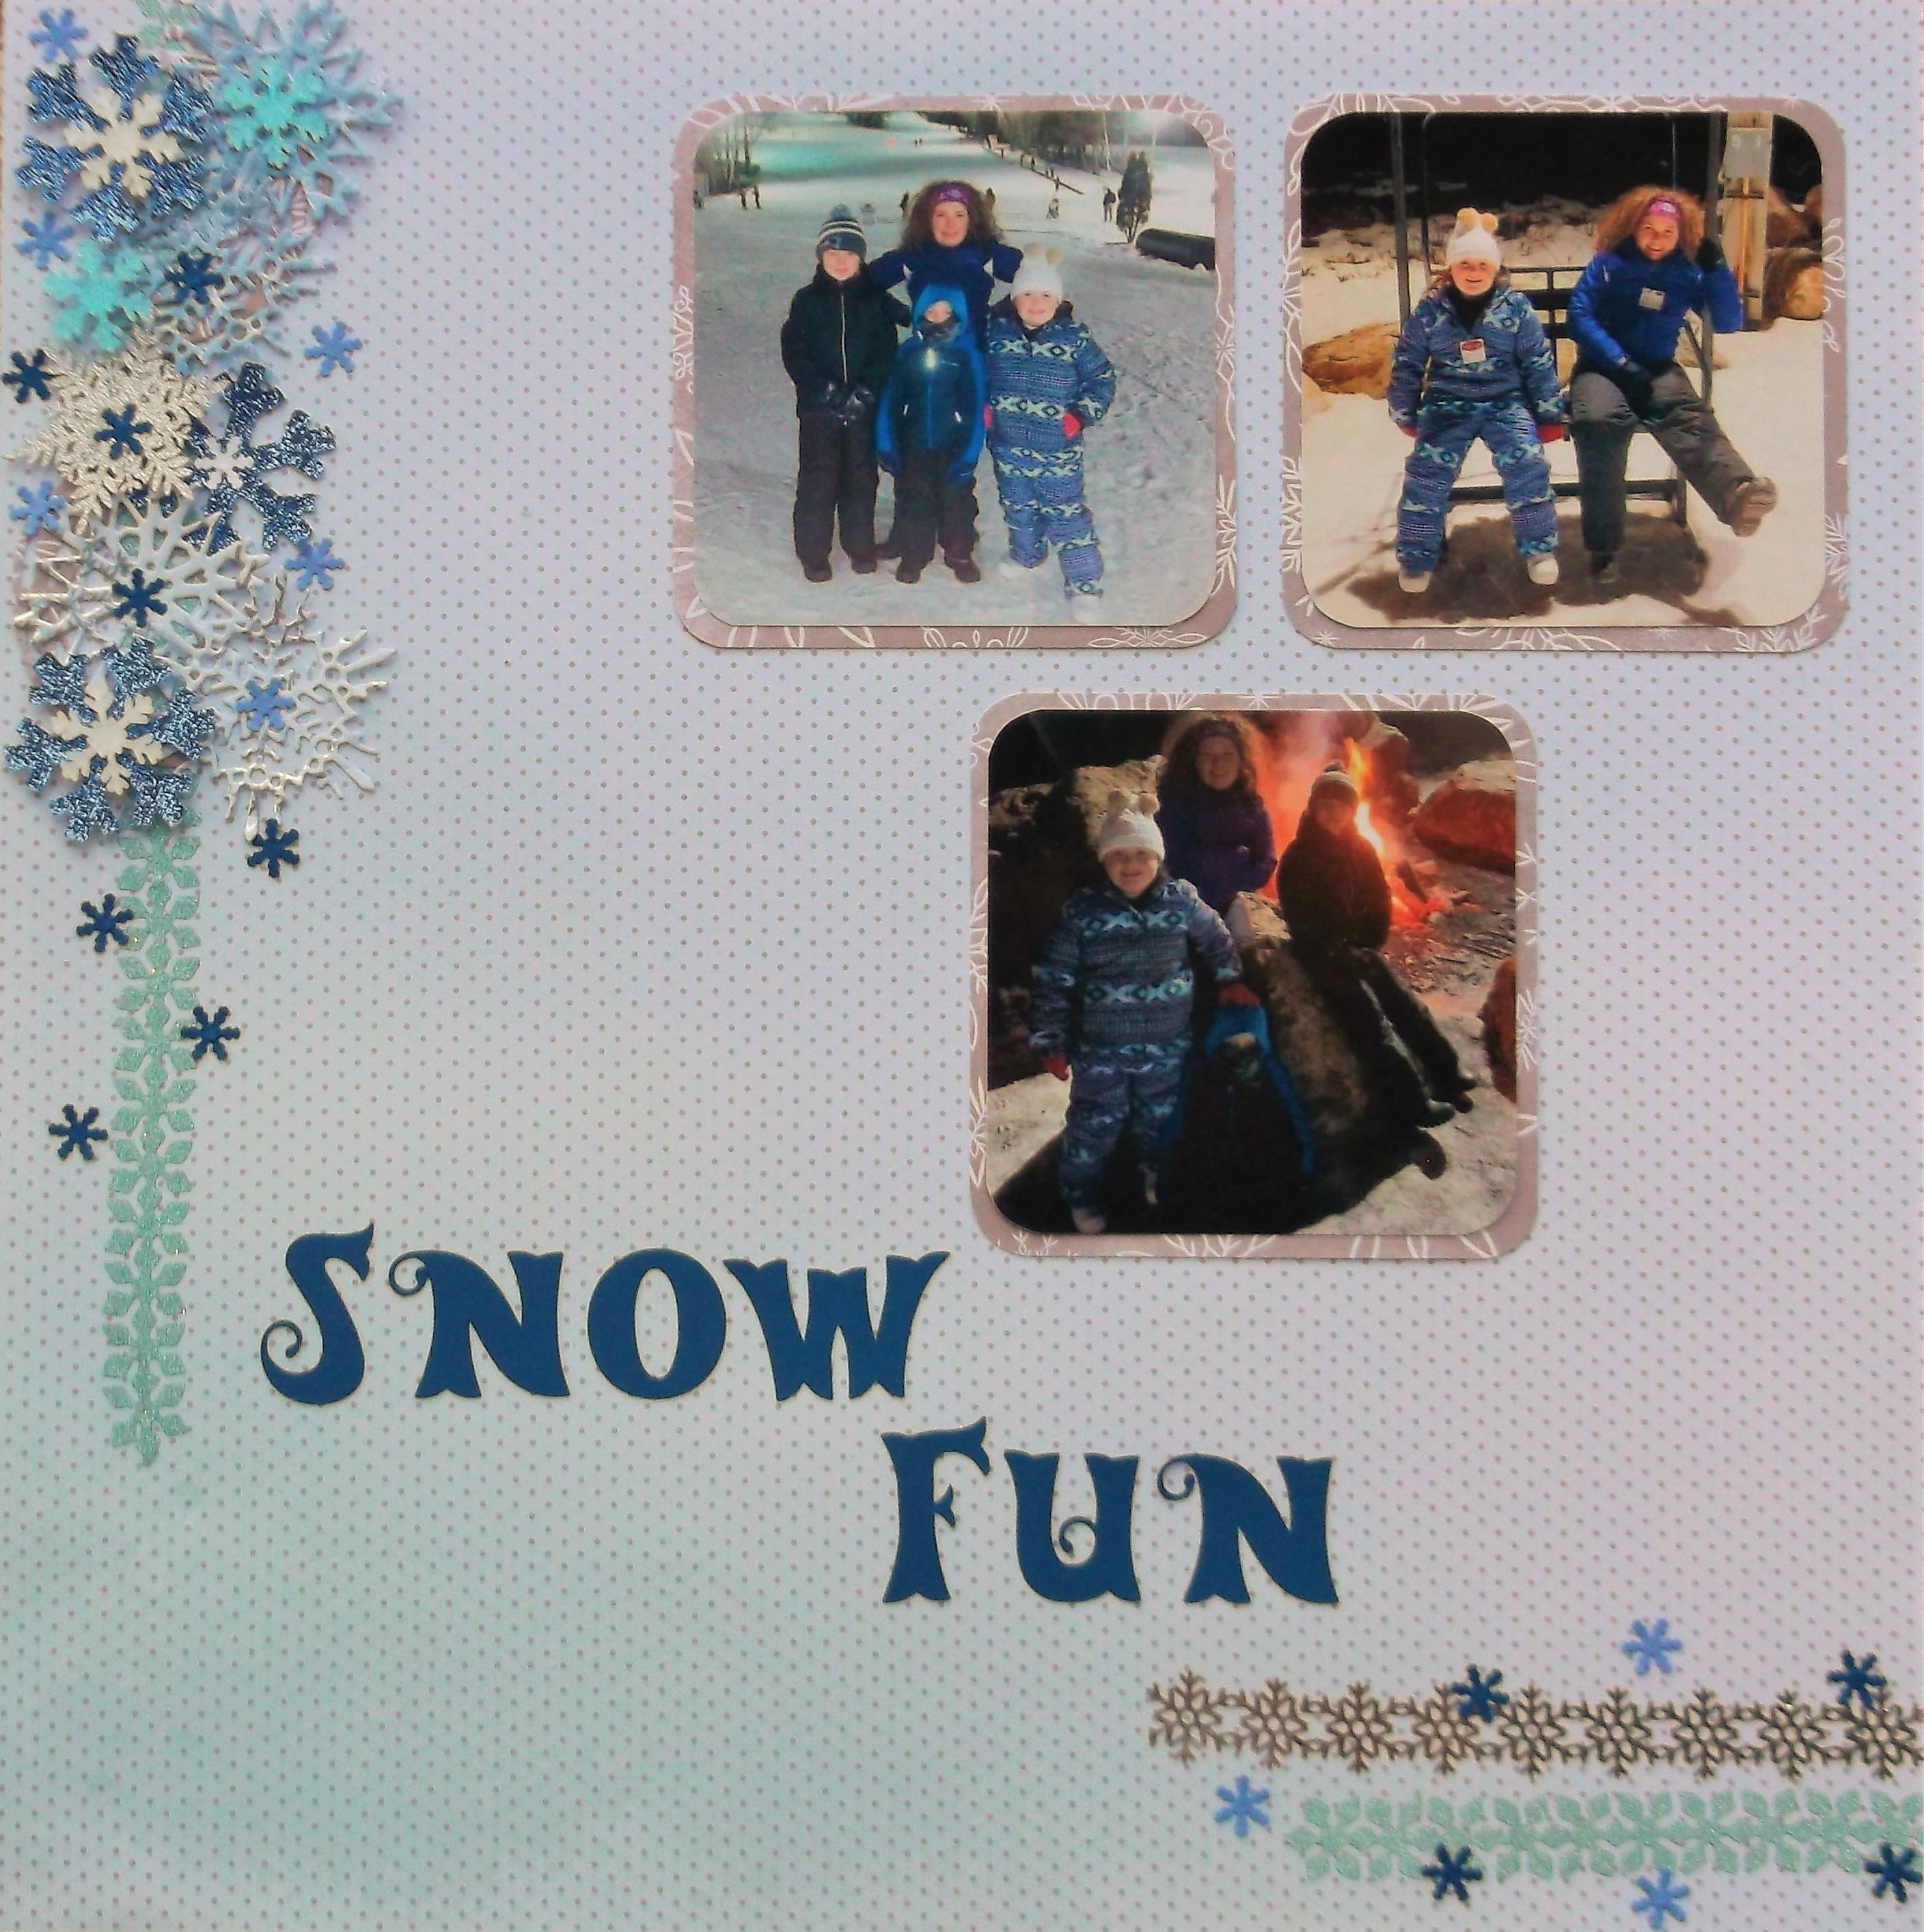
Snow Fun

 I've got a new sketch challenge up today at Sketches in Thyme on Facebook. This is really a fun sketch and I loved digging through my stash for all the different snowflakes I used. I hope you'll stop by and play along with us.


Here's the sketch 


I really had fun with this sketch. Once I found the photos I decided to use snowflakes for the embellishment cluster down the side of the page. I dug through my stash and found all kinds of snowflakes like die cuts, punches, acrylic pieces and glittered ones. I also found some snowflake washi tape that I thought would work well on the layout. The title was cut with my Cricut.

Thanks for stopping by! 


Friday, July 15, 2022

Learning to skate

 There's a new sketch up today at Sketches in Thyme. This week's sketch is by Laura Rumble and it is such a clean sketch. Stop by and play along with us!

Here's my example


Here's the sketch


This is my youngest granddaughter learning how to skate. Not sure she really mastered it but at least she tried. 
All the papers are from an old paper stack called Ice Crystals by Craft Smith.. The mittens and skate are Glitter Chips by Tattered Angels and the cute little acrylic pieces are from Fawnies on Ninth at Etsy.

Thanks for stopping by!


Friday, January 18, 2019

Winter Wonderland

We've got a mini crop going on over at Creative Inspiration and this month's theme is Out with the Old In with the New, New Years, Winter Wonderland, Holiday Celebrations, Resolutions or Year in Review. Lots of choices there, so I'm sure you can come up with some kind of project!

Here's mine


I started with a white background and stenciled some glass bead texture paste mixed with some blue gelatos randomly around the page. Then just rummaged through my stash and found all sorts of wintery embellies to add to my Winter Wonderland.

Thanks for stopping by!

Friday, December 21, 2018

Ice Castles

We've got a mini crop going on over at Creative Inspiration and our theme this month is Family, Holidays, Vacations, Celebrations, Christmas with a little bling and sparkle. My challenge is to do a vacation layout. Here's mine...


This a photo of my stepchildren and grandchildren on a vacation to Ice Castles in New Hampshire earlier this year. I wanted to keep the cold icy feel so I went with a monochromatic design using only gray and white.

I hope you'll stop by Creative Inspiration and play along with us!

Thanks for stopping by!

Thursday, November 15, 2018

Snow Day

I've got a sketch reveal up at the Sketches in Thyme blog today. We have a new sketch every week and all the DT members get to reveal their take on the sketch each day.


Here's the sketch for this week


This was a fun sketch to work with! I decided to do a winter layout and I love using pink in my winter layouts. Of course, having 2 granddaughters makes it easy since they're always dressed in pink. I started with pink cardstock and matted the photos in blue. I used some papers from the Ice Crystals collection from Craft Smith and chipboard snowman and snowflakes are Glitter Chips Frosty Memories from Tattered Angels. The little paper snowflakes are leftovers from a snowflake border punch that I always keep on hand. I use them a lot!

Thanks for stopping by!


Thursday, September 13, 2018

Anna and Elsa

I've got a stash challenge up at Creative Inspiration today. My challenge is to use some sequins, chipboard, diecuts and scraps on your project.


This is a pretty simple page but it felt good to use up some of my stash. I have a ton of chipboard
so I inked up the circles using white ink and then brushed some pink ink over them also. The snowflakes are leftover from a border punch. The title was cut from some scrap glitter paper and it's hard to see but there are white sequins all over the page.....I have sequins coming out my ears. lol

Thanks for stopping by!

Friday, June 15, 2018

Winter Fun

I've got a sketch reveal up today on the Sketches in Thyme Blog. We have a new sketch every week and a new take on it daily by one of our DT members. Stop by and check them out and play along with us.


Here's the sketch for this week


I loved the colors on this sketch so decided to incorporate them into my layout. This photo had all the right colors but I wasn't too sure about using these colors with a winter photo. I was going to add a lot of snowflakes but changed my mind and went with stars instead. I'm pretty happy with how it turned out.

Thanks for stopping by!


Sunday, April 15, 2018

Snow Fun

I've got a sketch reveal up at Sketches in Thyme today. We had a fun sketch from Bev Code to work with.


This came together so quickly. I used a stencil and modeling paste on the background paper and then used the smooshing technique with some water color paint. For the big circle behind the photo, the little chipboard circle and title, I covered them all with some Distress Oxide ink and then sprinkled water on top. I also flicked some silver ink from a Wink Of Luna pen on the big circle. Added a few old brads and it was done! 

Thanks for stopping by!   

Thursday, January 26, 2017

It looks like a cold sparkly winter day

Hello Everyone! Here's a gray monochromatic layout I did for the Robin's Nest Blog recently.  I was inspired by a painting done by Bob Ross. He did a beautiful winter scene in all grays. I went digging through my photos and found this one that looks like a black and white photo except for my granddaughters in the center.


Robins Nest Products


Other Products
Punches
Stickles
Gesso
Glitter
Die Cuts

I started with a piece of white cardstock. I mixed some gesso and black paint to get a grayish color and then applied it randomly to the cardstock. I also sprinkled some black glitter over it to give it a bit of sparkle.


Next I broke out my punches, a snowflake one and a scalloped one. I punched two one inch strips of the dotted back of the Smokey Chevron Cardstock with the snowflake border punch along with a plain white piece of cardstock and then layered them along the bottom of the layout.


I then used the scallop border punch and punched a one inch strip of the Smokey Chevron Cardstock, the Black Daisy Glitter Stripe Paper and the Silver Castles Glitter Cardstock.  I placed them in the center of the background page.


To mat the photo, I first punched 2 opposite corners using a snowflake punch and then backed the photo with white cardstock. I took one of the Orange Crush Cards, cut it in half and added it to either side of the photo. 


I had the die cut trees left over from an earlier project and thought they would be perfect for this layout but they needed something. I decided to run a thin line of stickles around the edges using the No Clog Writing Cap by ScraPerfect. It worked beautifully! I then popped the trees up for some dimension along the bottom of the photo.


The title, You and Me, was cut from the Wedding Cut-Outs Cardstock and I wiped some metallic creme chalk around the edges and then popped it up over a banner cut out of the Black Daisy Glitter Stripe Paper.


I took some of the Rosy Straw and ran that along the bottom punched layers and secured it with some of the Best Ever Glue by ScraPerfect. I also sprinkled several different types of dew drops around the page using some more of the Best Ever Glue by ScraPerfect and the Embellie Gellie by ScraPerfect. That embellie gellie makes it so easy to get the dew drops exactly where you want them!


Here's a final look at my layout:


Thanks for stopping by!

Monday, January 23, 2017

Sneak Peek for Robin's Nest

Here's a quick little peek of a project I have up over at The Robin's Nest Blog today. I hope you'll stop by the blog to see the whole project.


Thanks for stopping by!