Friday, March 31, 2017

How To Upcycle A Simple Spice Jar Into Something Cute

Hello Scrappy Friends! I've got an altered project up at the ScraPerfect Blog today and I'd like to show you how I transformed a simple spice jar into a cute little container.


This is what I started with. It was a very old (like probably 20 years old) spice jar. My mother had saved a couple of these and I found them when I cleaned out her house a couple of years ago.


I peeled as much of the label off as I could and had quite a mess left on the jar.


As you can see, I grabbed my Best Cleaner Ever and went to work on it. Look how nice and clean it came out!


Now comes the fun part of decorating the jar. I took two different colors of jute that I wanted to wrap around the jar. I used some of the Best Glue Ever and painted around the middle of the jar with it. I then wrapped the jute around and it held beautifully.


And since we've been doing a cross promotion with Lawn Fawn I used their stamps and dies to create a banner for the label. I used the Bannertastic stamp and die set. Their dies and stamps are just the cutest and they cut and stamp so crisply!


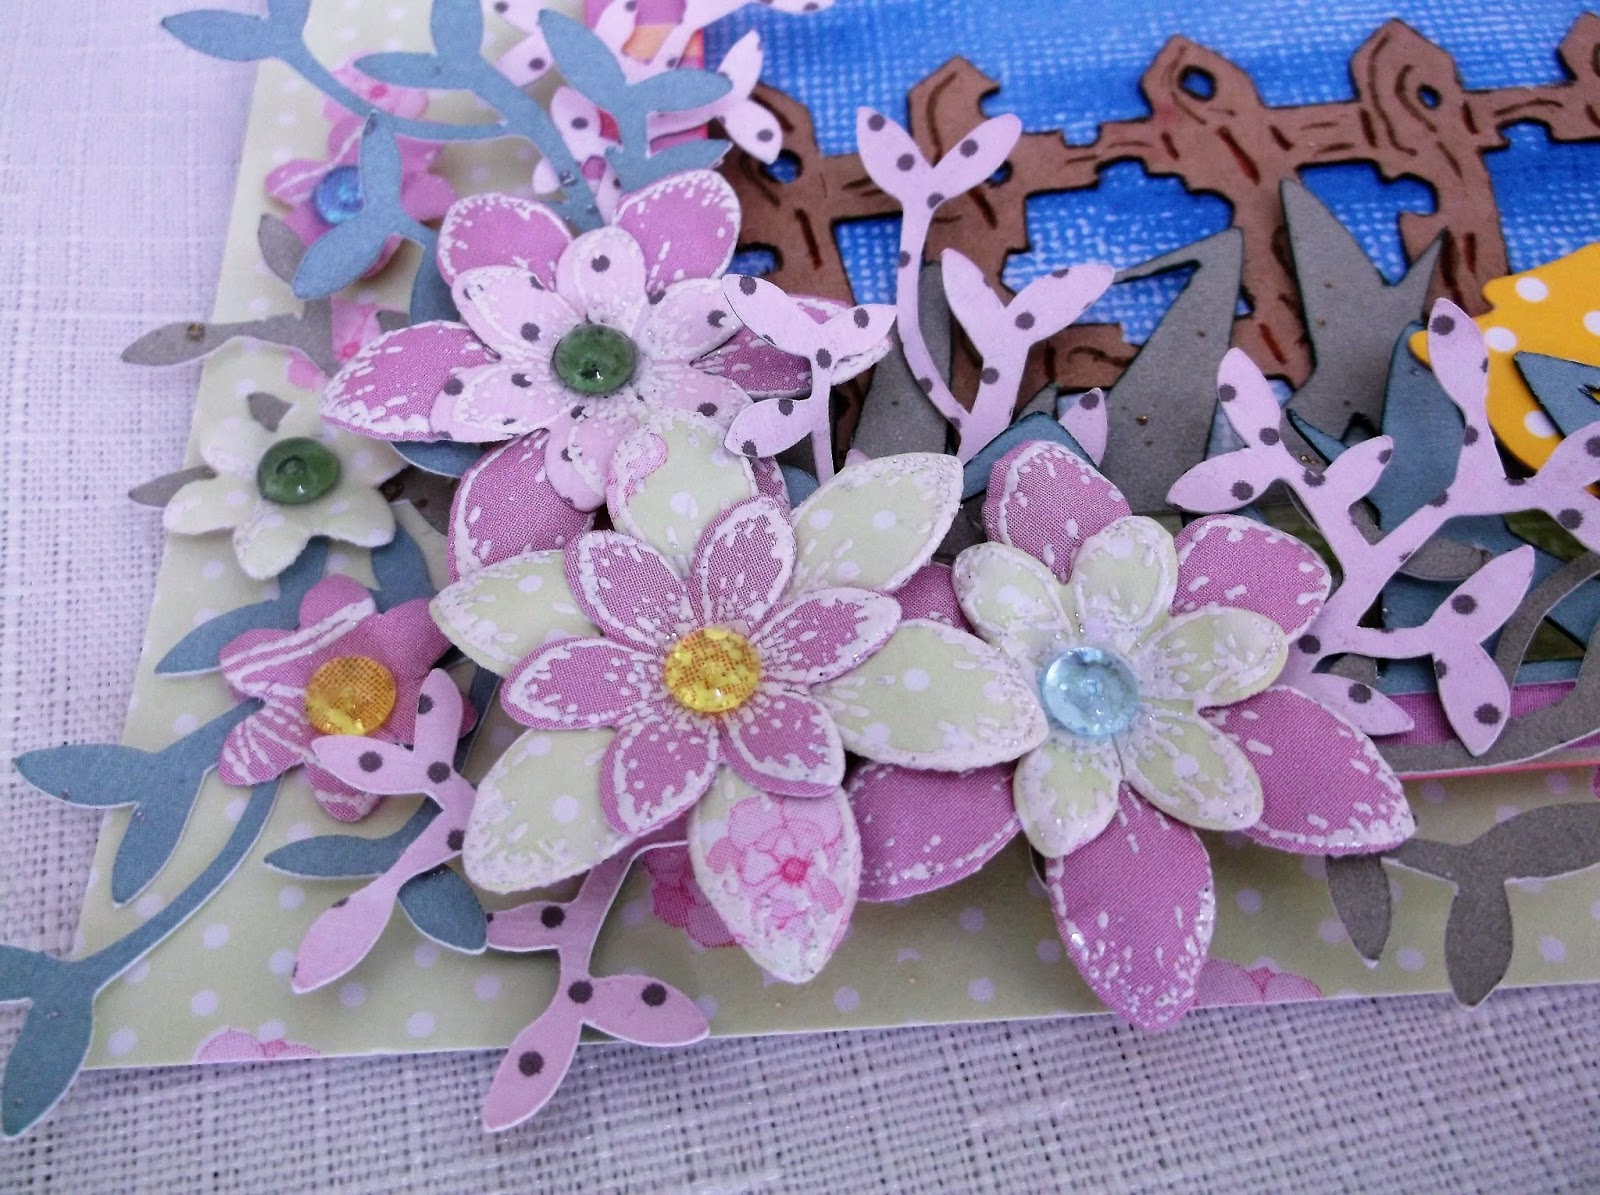
I also added several flowers and leaves and since it's a container for my pins I added two pearl stick pins. For the lid, I used some more of the Best Glue Ever to glue the ribbon and raffia around the side of the lid. This was adhering fabric to metal and the Best Glue Ever worked perfectly! For the top of the lid I just punched out a circle and placed a flower on top.


Here's another look at the finished project.


Thanks for stopping by and have a scrappy kind of day!

Thursday, March 30, 2017

It's Fun To Feed The Little Baby Ducklings!

Here's a layout I made for The Robin's Nest about my granddaughter's class trip to feed the ducks. Aren't the little hats they made super cute!


Robin's Nest Products

I started with the Brown on Brown Glitter Cardstock for my background. I cut a circle out of the Bunny Cardstock and used the reverse side and cut down the Rubber Duckies Glitter Cardstock and rounded the corners. 
I wanted to bring out some more of the colors of the photos so I decided to mat the photos using the Pink Glittered Leopard Cardstock.


Next, I cut some little duck feet on my Cricut and placed them along the top of the page right over the Rubber Duckies Glitter Cardstock.


And since there just wasn't enough bling with all the glittered cardstock I used, I decided to make a few small flower shapes using some of the Diamond Dew Drops and the Mini Dew Drops


Thanks for stopping by!

Sunday, March 19, 2017

How To Make A Card Sparkle With Glass Bead Paste

I've got a post up at ScraPerfect today and wanted to share it here with you.  I had so much fun making this card. I finally got around to trying some glass bead texture paste and I love it! I highly recommend it....the texture and sparkle it adds to your project is amazing. We're also doing a cross promotion with Lawn Fawn so I got to use some of their wonderful die and stamp sets.


I started by mixing some Liquitex glass bead texture paste with a couple of different colors of gelatos. I taped a stencil down to a piece of the Lawn Fawn Watercolor Wishes paper  and applied the paste trying to get it as even as possible. Not an easy thing to do because if you scrape your spatula across it, it will remove the glass beads.  I just played around with it til I was happy and then set it aside to dry which takes a while....I even left it overnight just to be sure it was dry. Then I used some of the Best Glue Ever along with the Embellie Gellie to add some black nail heads to the centers of the flowers. The Best Glue Ever is so good at adhering things to a bumpy surface and you only need a little bit and the  Embellie Gellie makes it so easy to get your little doodads placed just right.


Now it was time to play with the Lawn Fawn stamps and dies. I used the Bannertastic Stamps and Bannertastic Lawn Cuts Die to make my sentiment banner. I also used another piece of the Lawn Fawn Watercolor Wishes paper for the banner.


Here's another look at my card


Hope you have a scrappy day and thanks for stopping by!

Friday, March 17, 2017

Old Tunnels Through Rock Can Be Amazingly Beautiful

Here's another travel layout about our trip down Skyline Drive in Virginia last fall. It's a fairly simple layout because I didn't want to take away from the photos.


Robin's Nest Products


I also used the following ScraPerfect products since we are doing a cross promotion with them.


Other Products
Inks
Stencil
Cardstock

I started with a 5 x 12 " piece of the Khaki Glitter Cardstock and a 7.5 x 12" piece of the Red Plaid Linen Cardstock and glued the two of them together to make a 12x12" square. I used the Best Glue Ever for this as it makes it so much easier to get your edges lined up nice and straight. I then used a stencil and some brown ink to create the two starbursts on the Khaki Glitter Cardstock. I matted the photos with some brown cardstock and placed them on the Red Plaid Linen Cardstock. I cut out some chevrons using the Hunter Green with Glitter Cardstock and added some Mini Dew Drops on each of them. I used the Embellie Gellie  and the Best Glue Ever to get them right where I wanted them. 


I cut the map out of the Lodge Cutouts Cardstock, inked the edges and tucked it under the Red Plaid Linen Cardstock.


I inked and layered a Leafy Green Card and a Rusty Rose Card on top of each other and placed them on the bottom right corner.


To finish it off I used several rub ons from the Belgian Chocolate Boy Rub Ons


Here's another look at the finished layout


Thanks for stopping by!

Thursday, March 16, 2017

Motorcycle Birthday Card

I've got a card sketch challenge up at Creative Inspiration today. We're having a month long sketchathon going on and I'll hope you'll stop by and play along with us.

Here's today's sketch


And here's my take on it


I went in a completely different direction from the sketch but sometimes that's just the way it goes. 

Thanks for stopping by!

Saturday, March 11, 2017

Pirate Layout

I've got a sketch challenge up today at Creative Inspiration. We're having a month long sketchathon with prizes and all sorts of layout and card sketches. Stop by and check us out!


Here's the sketch 


I had fun with this sketch! For the background I took an ink pad and swiped ink all around a white piece of cardstock and then using a stencil and modeling paste added the raised ridges all over. Then I took a red and black ink pad and swiped them over the modeling paste.  I added minimal embellishments because I didn't want to take away from the background. 

These photos are from a quick trip we took to Epcot a few years ago. We stayed at the Caribbean Beach Resort in the Pirate themed rooms. It was fun, which we really needed right then. 

Thanks for stopping by and hope to see you at our month long sketchathon at Creative Inspiration!


Sunday, March 5, 2017

All Occasion Card

I've got a post up over at ScraPerfect today about adhering fabric and ribbon to your projects. All you need is some of The Best Glue Ever. It adheres quickly, smoothly and best of all it's invisible! It never shows through the ribbon or fabric. Here's a card I made with all different kinds of embellishments that needed to be adhered on top of each other. I was worried some of it wouldn't stick very well or show through.


I grabbed my trusty bottle of The Best Glue Ever and went to work. I first glued the piece of cheesecloth onto the background paper with just a few dots of the glue. It held perfectly. I then added a couple of pieces of washi tape over it and a die cut doily. I had sprayed the front of the doily with some shimmer mist and then added the ribbon. It held perfectly also....I was afraid the shimmer mist might have been a problem but it wasn't. I also added the flower using some more of The Best Glue Ever and even used it on the butterflies which are epoxy stickers. 

Here's a close up of all the embellies so you can see how well The Best Glue Ever holds.


If you haven't tried some of The Best Glue Ever you should head over to the ScraPerfect store and order some. You won't be disappointed! And while you're there be sure and check out their other amazing products!

I also have a card sketch challenge up at Creative Inspiration today. We're having a month long sketchathon this week with all sorts of wonderful sketches for layouts and cards. I hope you'll stop by and play along with us!

Here's today's sketch


And here's another look at my take on sketch


Thanks for stopping by!

Friday, March 3, 2017

How to Make A Cute Easter Card from Scraps

Good Morning fellow scrappers! I've got an Easter Card made entirely from scraps up on the Robin's Nest Blog.  I save the smallest pieces of paper, especially if I really like the paper. I always tell myself that I'll make some flowers out of all my little bits and pieces. So I decided to do just that for this Easter card.


Robin's Nest Products

Other Products
Die Cuts
Creme Chalk
Inks
Embossing Powder

I started with an A2 size card and cut a piece of the Pink Roses On Green Cardstock to fit the front of the card. I decided to create a little window scene so I used my Cricut to cut out an open rectangle from some Spring Stripe Glitter Cardstock. I then took a piece of white cardstock and using some creme metallic chalk colored it to look like the sky and grass.


Next came making all the little flowers. I used some of the Rosy Diamond Cardstock (backside) and Pink Roses On Green Cardstock for the flowers. I stamped and embossed them with glitter embossing powder and then die cut them using my Cuttlebug. I glued them all together using some of the Best Glue Ever by ScraPerfect. And of course I had to add some Dew Drops to them also. I die cut the grasses and vines out of the Moss Green Glitter Cardstock and the Sky Blue Glitter Cardstock


Here's a close up of the flowers once I got them all put together and onto the card.


So, if you're like me and save even the tiniest pieces of scraps from other projects, you can easily use them to make some of the prettiest little flowers. I made a lot more than I needed for this Easter Card so now I have a nice stash of handmade flowers for other projects. 

Here's another look at the final project


Thanks for stopping by!